On this page
- First five minutes: stop the water and find the source
- Where the water starts tells you what failed
- Leaking at the bypass valve
- Leaking from the top: tank-neck o-ring or valve seals
- Leaking from the brine tank or the salt overflow
- Leaking only at night: the drain line and air gap
- New install leaking on day one
- Fix it or replace it?
- Not a leak? Find your symptom
Put the softener in bypass and unplug it. That cuts water to the softener and keeps the rest of the house supplied while you look for the cause.
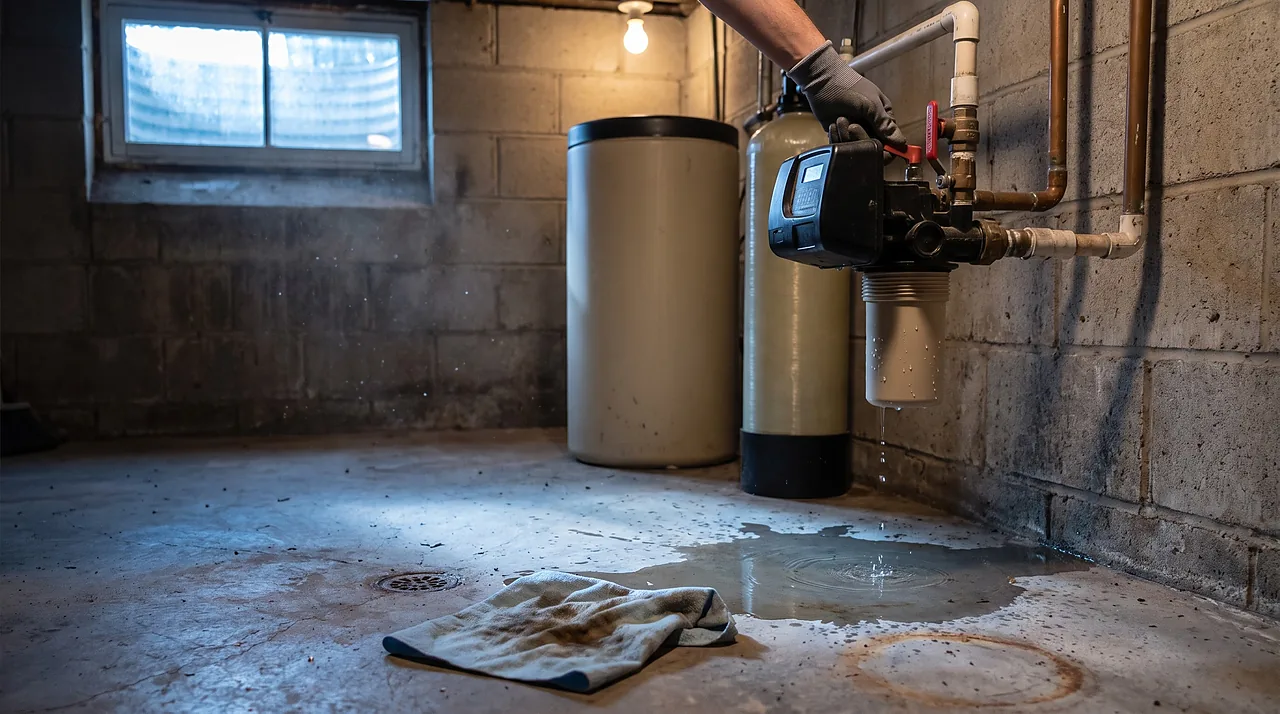
Then find where the water starts, not where it ends up. A puddle on the floor tells you very little, because water always runs to the lowest point. The spot where the first drop forms tells you almost everything. There are six such places, from a cheap o-ring to a tank that has to be replaced.
First five minutes: stop the water and find the source
- Turn the bypass valve to Bypass. It sits where your house pipes connect to the control head, the valve assembly on top of the tall resin tank. Depending on the model, it is two quarter-turn handles, a single lever, or a push-pull plunger.
- Unplug the softener, so it can't start a cleaning cycle while you work.
- Still dripping? Close the main water valve. A leak that carries on in bypass is in the bypass valve itself or the pipe connections behind it, which still hold house pressure.
- Dry everything and watch. Wipe the tanks, the control head and the floor, then lay paper towels under each joint. The first towel to darken marks the leak.
Before you order parts, rule out the impostor. In a humid basement, cold water inside the tank makes the outside sweat, and on a muggy summer day that drip looks exactly like a leak.
To tell them apart, tape a square of plastic wrap tightly to the dry tank wall and wait two hours. Droplets on the outside of the wrap are condensation, and an insulating tank jacket solves it. Water underneath the wrap, against the tank itself, is a real leak.
Where the water starts tells you what failed
Match your wet spot to one of these six places, then jump to the fix.
- Around the bypass valve, even in Bypass
- Dried or nicked o-rings, or a cracked valve body. A simple repair with the main water off.
- Where the control head screws onto the resin tank
- A flattened or pinched tank-neck o-ring. You can replace it yourself, but the head has to come off.
- Inside the control head cover
- Worn seals inside the valve, replaced with a rebuild kit.
- The brine tank (the salt tank) or the floor around it
- Either the tank overfilled because the softener stopped pulling brine out, or the plastic has cracked.
- The drain hose, only during or after the night cycle
- A loose or split hose, or the pipe it empties into backing up. Usually a few minutes' work.
- The resin tank wall
- A cracked fiberglass tank, often from age or freezing. It can't be repaired.
A puddle around the base of the resin tank is the confusing one. Work upward: condensation running down the tank first, then a brine tank spilling over, and only then a crack low on the tank itself.
Leaking at the bypass valve

Bypass valves sit untouched for years, often until the day someone moves the handle for a repair or a filter change. By then the o-rings have flattened and hardened, and that first turn is what cracks them. Water beading around the retaining clips or the handle won't stop in bypass, because the valve body still holds house pressure.
Close the main water valve and open a nearby faucet to drain the pressure. Pull the two retaining clips, slide the valve off, and check the o-rings and the plastic connectors. Fit new o-rings coated with food-grade silicone grease. Skip petroleum jelly and spray lubricants, which can make rubber seals swell.
If the plastic body itself is cracked, replace the whole valve. The bypass valve replacement guide walks through it, and the three bypass positions are explained separately.
Leaking from the top: tank-neck o-ring or valve seals
Water on top of the resin tank, just under the control head, comes from one of two places. The clue is timing: does it leak all day, or mostly while the softener regenerates?
Either way, release the pressure before you open anything. Put the valve in Bypass, then follow your manual. On many valves you start a manual regeneration and let it run for a minute, so the trapped water bleeds out through the drain hose. Unplug the softener again before you pick up a wrench.
- A steady weep where the head screws onto the tank is the tank-neck o-ring, flattened with age or pinched during an earlier service. On Fleck 5600-series valves it's part 12281. Unscrew the head, fit a new greased o-ring, and check the distributor tube o-ring while everything is open (part 13304 on the same valves). Our guide to replacing the distributor and riser o-rings shows each step.
- Water from inside the head cover, mostly during regeneration, means the seals inside the valve are worn. Many valves use a stack of rubber seals around a moving piston, while many all-in-one cabinet units use a rubber disc instead. Both come as rebuild kits, covered in the valve rebuild guide.
Leaking from the brine tank or the salt overflow

The brine tank isn't under pressure, so bypass won't stop it leaking. Lift the lid and look inside before you look underneath.
Most brine tanks hold some water at the bottom, under the salt, and that part is normal. What matters is that salt sits above the water line. Keep the tank a quarter to half full of salt and check it once a month.
- Water above the salt, or trickling out of the overflow fitting. The tank itself is fine. During its last cycle, the softener failed to pull the brine out. The usual suspects are a clogged injector, the small nozzle in the valve that sucks brine up, or an air leak in the brine line that runs between the two tanks. Then the float that should have stopped the refill didn't. Start with brine tank full of water.
- A normal water level, but a salty crust or puddle under the tank. The plastic has cracked, usually at a bottom corner. Glue and epoxy won't hold on this plastic, so the tank needs replacing. Move the salt, the float and the brine line to the new one.
- Drips where the brine line meets the valve. A loose or cracked fitting. Tighten it by hand or replace it.
Leaking only at night: the drain line and air gap

This is the leak that makes people doubt themselves. The floor is wet when you come down for coffee, yet by lunchtime the softener looks bone dry.
The culprit is regeneration, the softener's cleaning cycle. It usually runs around 2 a.m., takes roughly 85 to 110 minutes, and sends about 35 to 65 gallons of water down the drain hose.
To catch it in the act, turn the bypass valve back to Service and plug the softener in. Start a manual regeneration and watch three spots: the drain hose fitting on the control head, the head itself, and the standpipe (the open pipe the hose empties into). Most of the water rushes out early, during the backwash stage. A split hose end, a loose clamp or a standpipe clogged with lint will spill right then. Trim the split end, refit it with a clamp, and clear the standpipe.
The hose has to end above an open air gap. Plumbing codes require it so drain water can never be pulled back into your supply (drain options explained). And if water keeps running down the drain long after the cycle should have ended, the valve is stuck: see softener stuck in regeneration.
New install leaking on day one
When a brand-new softener leaks within a day, look at the installation before you blame the factory. Three mistakes cause most of these:
- O-rings missing or dry inside the plumbing connectors.
- Thread tape wrapped on connections that seal with an o-ring. The tape keeps the nut from pressing the o-ring flat.
- A connector pushed in at an angle, so the retaining clip caught only one side of the groove.
The installation checklist shows how each connection should go together.
Fix it or replace it?
Almost every leak on this list is fixed with an inexpensive part: o-rings, a seal kit, a bypass valve, a float or a brine line. For comparison, a new softener with professional installation typically costs about $1,000 to $3,000. Prices vary by region, so check current quotes.
Two situations change the math:
- A cracked resin tank. It holds full household water pressure, and patches don't last. Check the tank's warranty before you buy anything, and claim it if it's covered. If not, compare a new tank with a new unit.
- An old unit leaking from several seals at once. Each fix is cheap, but on a softener that's 10 to 15 years old the resin may also be near the end of its life. That's the moment to weigh the options in repair or replace.
Not a leak? Find your symptom
Questions people ask
Why does my water softener only leak at night?
Because that's when it regenerates, usually around 2 a.m. A leak that appears only then comes from parts that work only during the cycle: the drain hose, the standpipe, or the seals inside the control head.
Do I need a plumber for a water softener leak?
Usually not. O-rings, a bypass valve, the drain hose and the brine float are all DIY jobs with basic tools and the water off. Call a plumber if the leak is in the house pipes before the bypass valve, if you can't shut the water off, or if the resin tank itself has to be replaced.
Can I leave my water softener in bypass while I wait for parts?
Yes, as long as the leak isn't in the bypass valve itself. The house gets hard water until the repair is done, and the softener isn't harmed by sitting isolated.
Can I patch a pinhole leak in the resin tank with epoxy?
No. The tank flexes slightly under household pressure every day, and patches peel off over time, which risks a sudden flood. A leaking tank has to be replaced.
How long does a water softener last?
The resin, the part that does the softening, typically lasts about 10 to 15 years on chlorinated city water and longer on clean well water. Seals, o-rings and floats wear out sooner, but they're cheap to replace, so a leak alone rarely means the whole unit is finished.
Sources
- Pentair
- Fleck Systems (Fleck 5600SXT manufacturer-line specifications)
- Water Quality Association (WQA), "Getting Smart with Softeners"
- Homewyse


